Panopto sub-page navigation:
Using Panopto for Zoom Recordings
You've recorded a Zoom meeting and now it's time to share that meeting with students in your course...
Each course in Canvas has a limited amount of space (2GB) and our Canvas license may incur extra charges for media files. Because of these limitations and because Canvas isn't setup to be a video platform, you should use Panopto to store and share your Zoom recordings.
Uploading Zoom recordings to your course folder in Panopto ensures that only your class will have access to them without having to worry about permission settings. Your students can navigate to your Panopto Recordings page in your Canvas course to view the recordings. Once the recordings are in Panopto, all the features of Panopto are available, such as Editing the Video, Viewer Statistics, Search Indexing, Automatic Speech Recognition, etc.
There are two methods for making your Zoom recordings available in your Panopto course folder, and therefore, also available in your Canvas course:
- Automatic upload from Zoom to Panopto:
The method is the preferred "set-it-and-forget-it" approach, but requires setup and testing. Instructions can be found at the following page: https://ctei.jhu.edu/tools-and-tech/panopto-zoom-auto-upload - Manual download/upload from Zoom to Panopto:
This method is described below and can be considered a "fallback" method if needed.
MANUAL METHOD
NOTE: These instructions presume your Canvas course is setup for Panopto and have a licensed Zoom account.
Step 1: Find your recording
The first step before you upload your Zoom recordings into Panopto is to locate them. There are two ways to record in Zoom: Local and Cloud. There can be advantages to each recording method, but in general local recording yields higher quality videos but takes up space on your hard drive. The two methods of Zoom recording store files in different places as explained below.
For Local Zoom Recordings...
If you need information about local Zoom recording, there's an extensive article here. The most important thing to remember about local Zoom recordings is that, after the meeting ends, you need to let Zoom convert the local recording into files that you can use.
You will see a small window during this process:
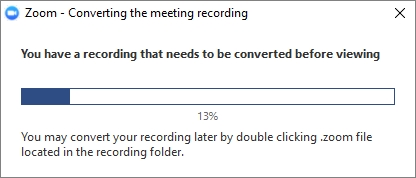
Do not close this window. Once the conversion process is complete, the folder containing the recording files will open.
For reference, this folder is located in a Zoom folder inside your Documents folder by default:
- PC: C:\Users\User Name\Documents\Zoom
- Mac: /Users/User Name/Documents/Zoom
By default, Zoom local recordings generate 2 or 3 different files:
- zoom_0.mp4 - This file contains audio and video. This is the file you should upload to Panopto.
- audio_only.m4a - This file contains only audio and is not needed.
- playback.m3u - This is a playlist file and can be ignored.
Depending on your computer's settings, you might not see the file extensions, but look for the file called zoom_0. This file will also be the largest file in size.
For Cloud Zoom Recordings...
If you need information about cloud Zoom recording, start with this article, which describes the process in general. This second article is all about managing your existing cloud recordings, and includes important information on how to find the file we need to upload into Panopto.
The goal is to end up with a video file that we can upload to Panopto.
Step 1a:
The first step is to login to your Zoom account in a browser. NOTE: This process differs slightly depending on your school. Some users may log into zoom.us, some to wse.zoom.us, or some to jh.zoom.us. You should know your login address because it's where you setup meetings and change Zoom profile settings.
Step 1b:
After logging in, choose Recordings from the left hand menu. The default tab will show cloud recordings.
Step 1c:
Next, click on the recording you want to download and transfer into Panopto.
You will see a screen like this:
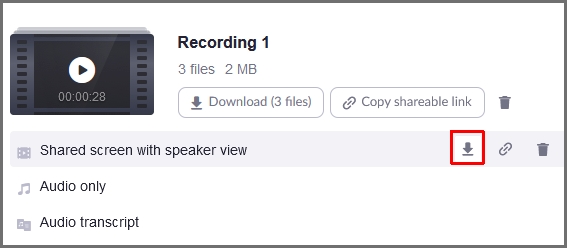
Depending on your settings, you may ony have 2 files, or you may even have more than 3. Reading the description of the various downloadable files should tell you which is the right one.
Step 1d:
Hover over this file with your mouse and click on the download icon. Remember where this file is saved to on your computer (usually Downloads).
The downloaded file will be an .mp4 file and have a long filename, something like: GMT[date]-[Meeting_Name]-_640x360.mp4
Step 2: Move your Zoom recording into Panopto
Once you have the video file from Zoom, either by locating in on your computer or downloading it from the cloud, the next step is to upload it to Panopto.
Step 2a:
To get started, login to Canvas and choose your course.
Look on the Course Menu to the left and click on the link called Panopto Video:

If this link is missing, refer to Getting Started with Panopto
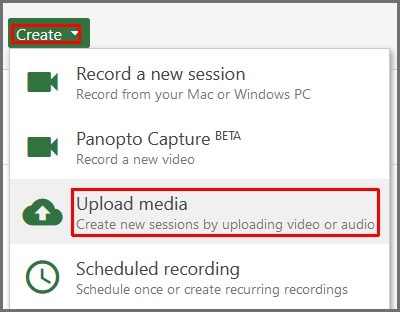
Step 2b:
Next, click on the Create button and choose Upload Media:
At this point, you can verify that the upload folder is correct and then either drag the video files from finder/explorer or click inside the upload window to open a dialogue box and browse for the files. You can drag multiple files inside the upload window at once.
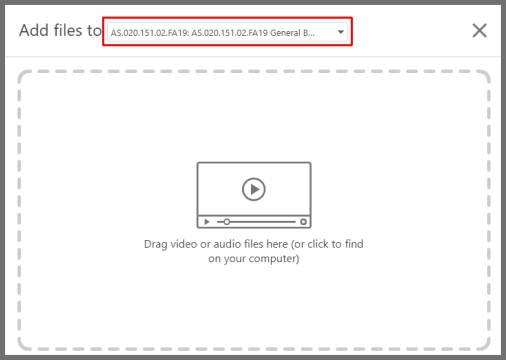
The upload window will show you the progress of your uploads and let you know when it's OK to close the window. If you close the upload window before the upload completes, you will have to try again.
Step 2c:
Once the recording is uploaded, Panopto will then begin processing it into the correct format. Depending on the length of your recording, it may take several minute or longer before students can view it.
While you wait for it to complete the processing, it is a good idea to rename your recordings to something more meaningful than zoom_0. Renaming videos in Panopto is easy. When viewing the list of videos in your course's folder, hover the mouse over the video to rename and click on Settings.
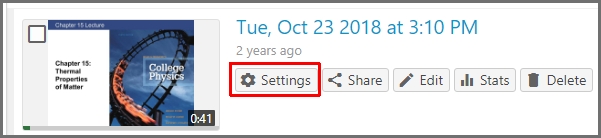
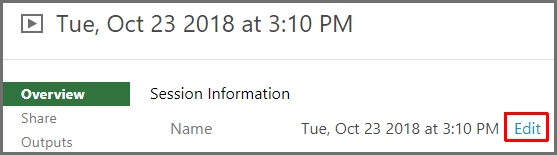
The name is the first setting. Click on Edit, enter the new name, and click on Save.
Concluding thoughts
Please acknowledge the University's guidelines that recommend deleting recordings at the end of the semester if they include audio or video of students. For more information, please review the University's guidelines about recording lectures that may include video or audio of students. (Remember, Local recordings will not be automatically deleted.)